A 3-Step Quick Guide to Install SSL on Windows Server (Microsoft IIS)
Secure website experience requires higher server security. Therefore, securing a web server on Microsoft Internet Information Services (IIS) is crucial. The easiest way to secure your website on Microsoft IIS is to install SSL on a Windows server.
However, why is SSL so important?
The Lazarus group’s recent attack on IIS servers in South Korea indicates the need for higher security to ensure data protection. Hackers exploited IIS servers to access the data of many businesses. Therefore, if you are using Microsoft IIS, security is crucial.
SSL certificates help you secure the server from cyberattacks by protecting the communication between the server and the browser. It encrypts the data and scrambles the information into an array of random strings that is hard to read for cyber attackers.
This article will focus on installing SSL on Windows servers and ensuring website security. Let us briefly understand what Microsoft IIS and an SSL certificate are.
What is Microsoft IIS?
Microsoft IIS is an extensible web server that you can use to host websites and build reliable web applications. It supports HTTP, HTTP/2, and HTTPS, FTP, FTPS, SMTP, and NNTP1.
Further, you can use it for media streaming to web applications or any other use case for business needs.
Its scalable and open architecture can handle the most demanding tasks and peak loads, making it an attractive option for many organizations.
What is an SSL certificate?
An SSL certificate is an encryption-based security approach where you can secure the communication between a server and browser through cryptographic encryptions. You can get an SSL certificate from a leading Certificate Authority (CA) by submitting your details in a certificate-signing request (CSR).
Here is how you can generate CSR in the IIS server,
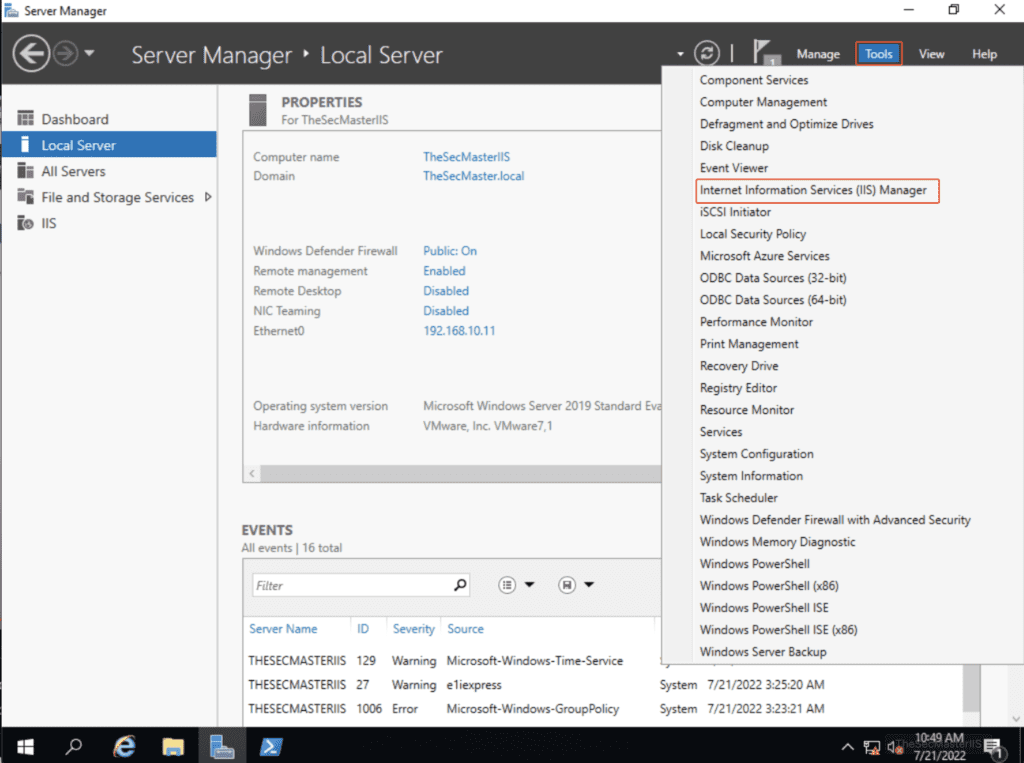
- Launch the IIS Manager on your machine and go to “Tools.”
- Select the “Server Name” and double-click on “Server Certificates.”
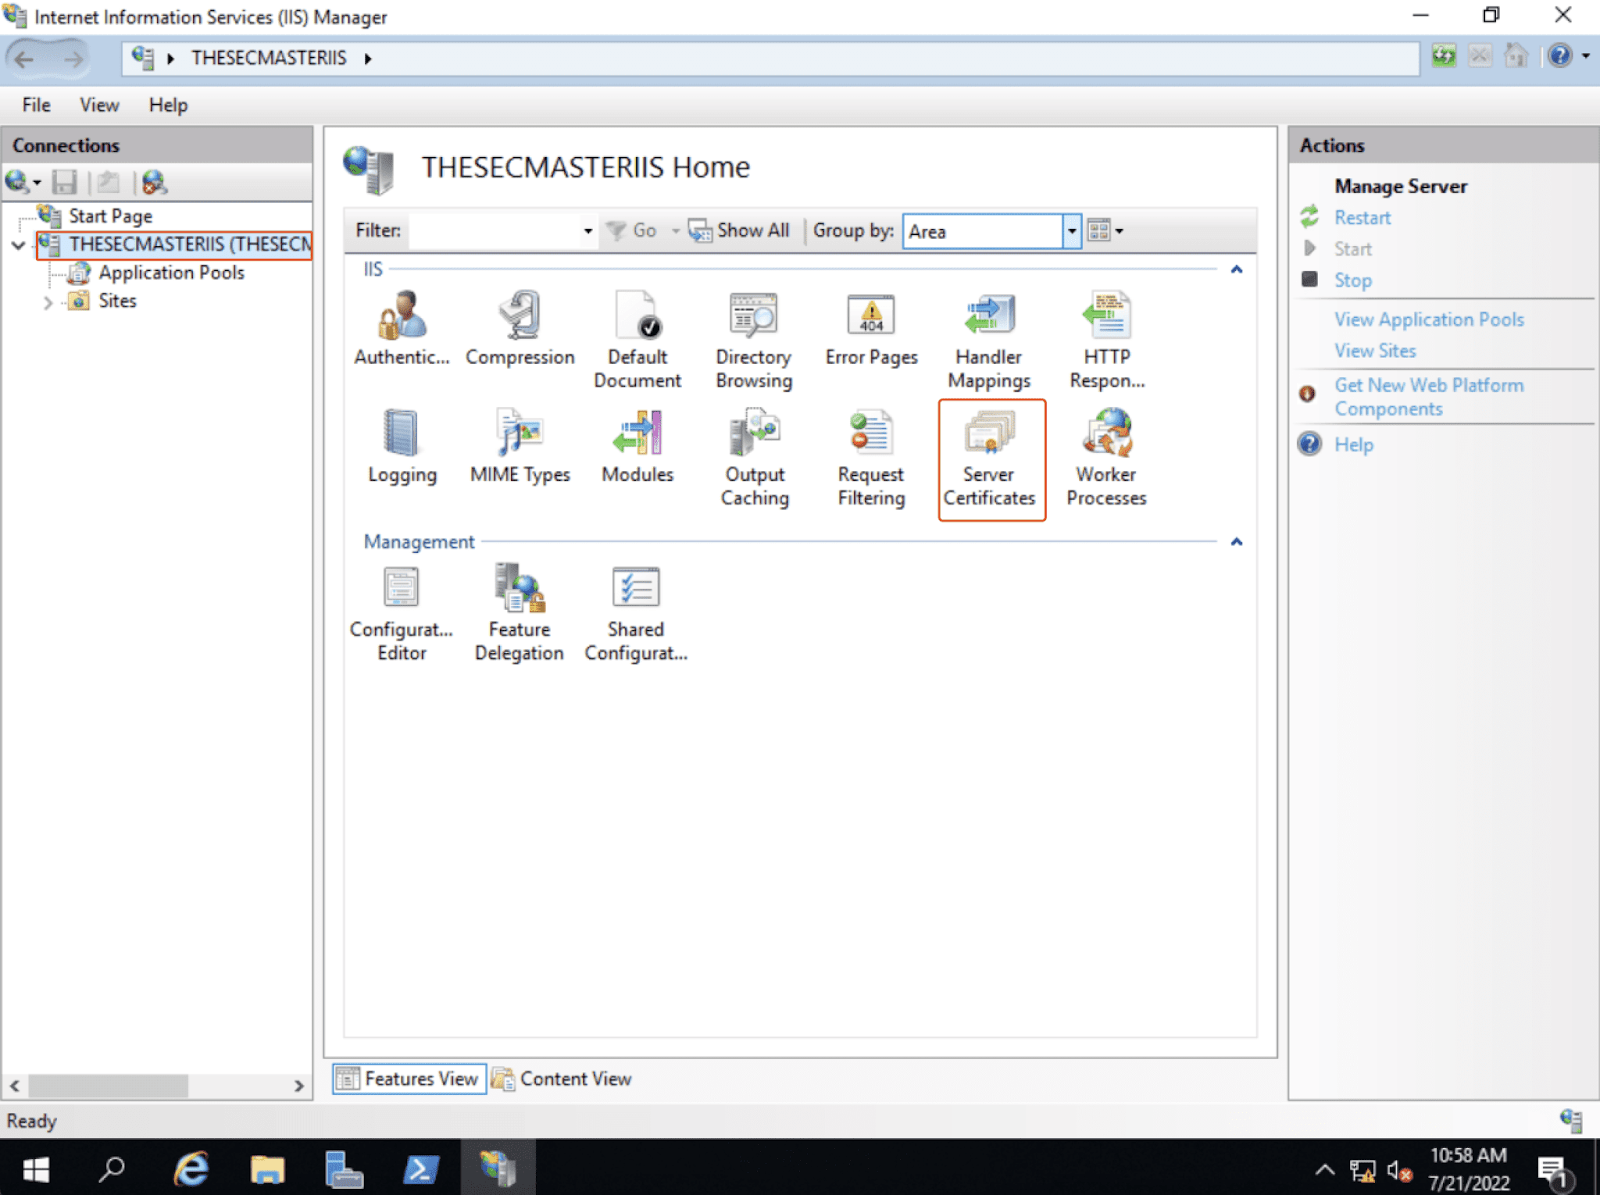
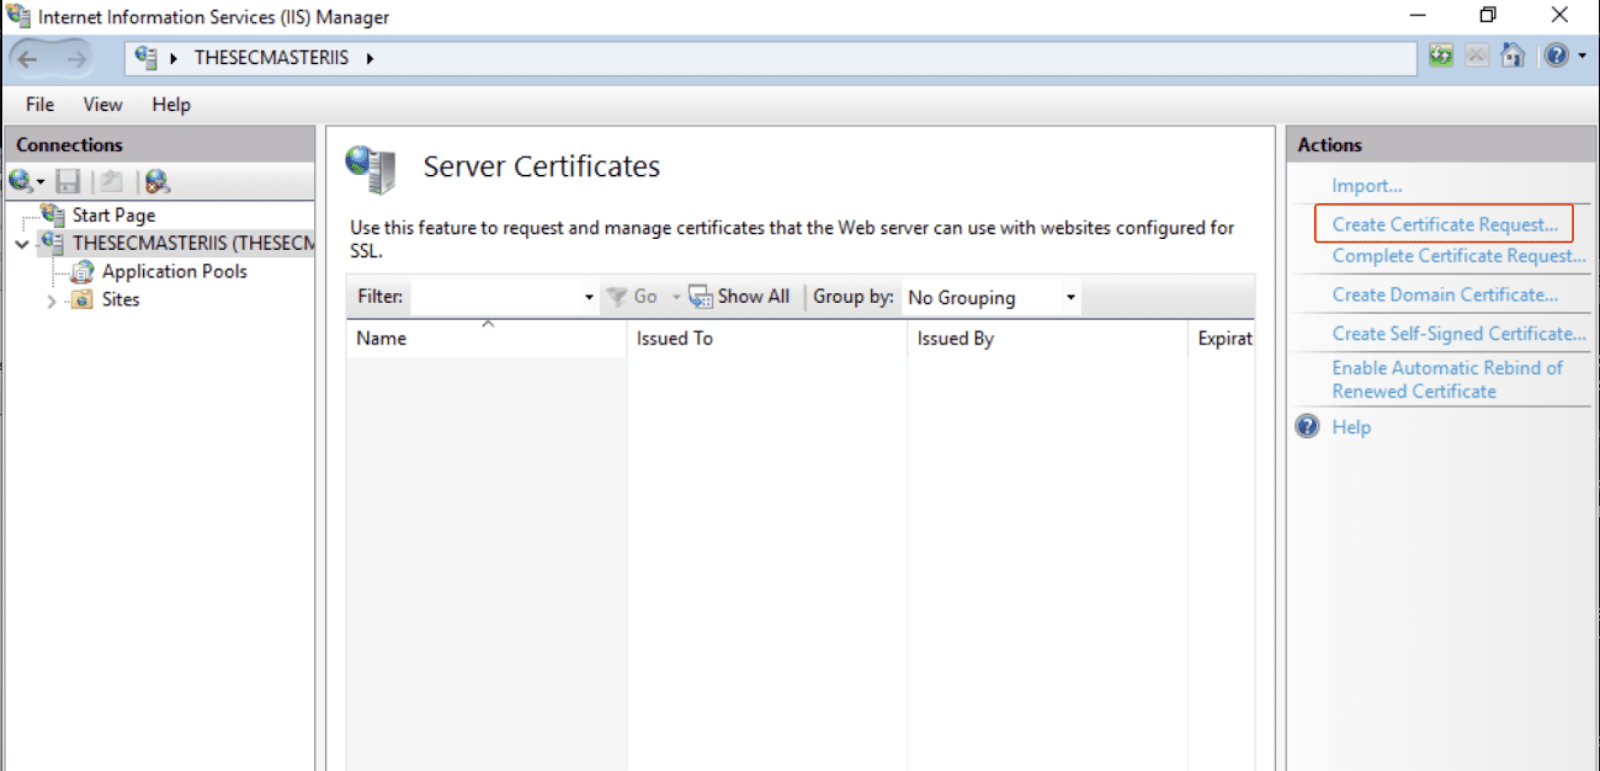
- On the “Server Certificate” window, you can observe no certificates are installed now.
- Next, click on “Create Certificate Request” on the right-hand side menu of the window
- Provide organizational information for creating a certificate request like common name, organizational unit data, city, state, and country name.

- Select the ‘Cryptographic Service Provider’ and change “bit length” to “4096.”
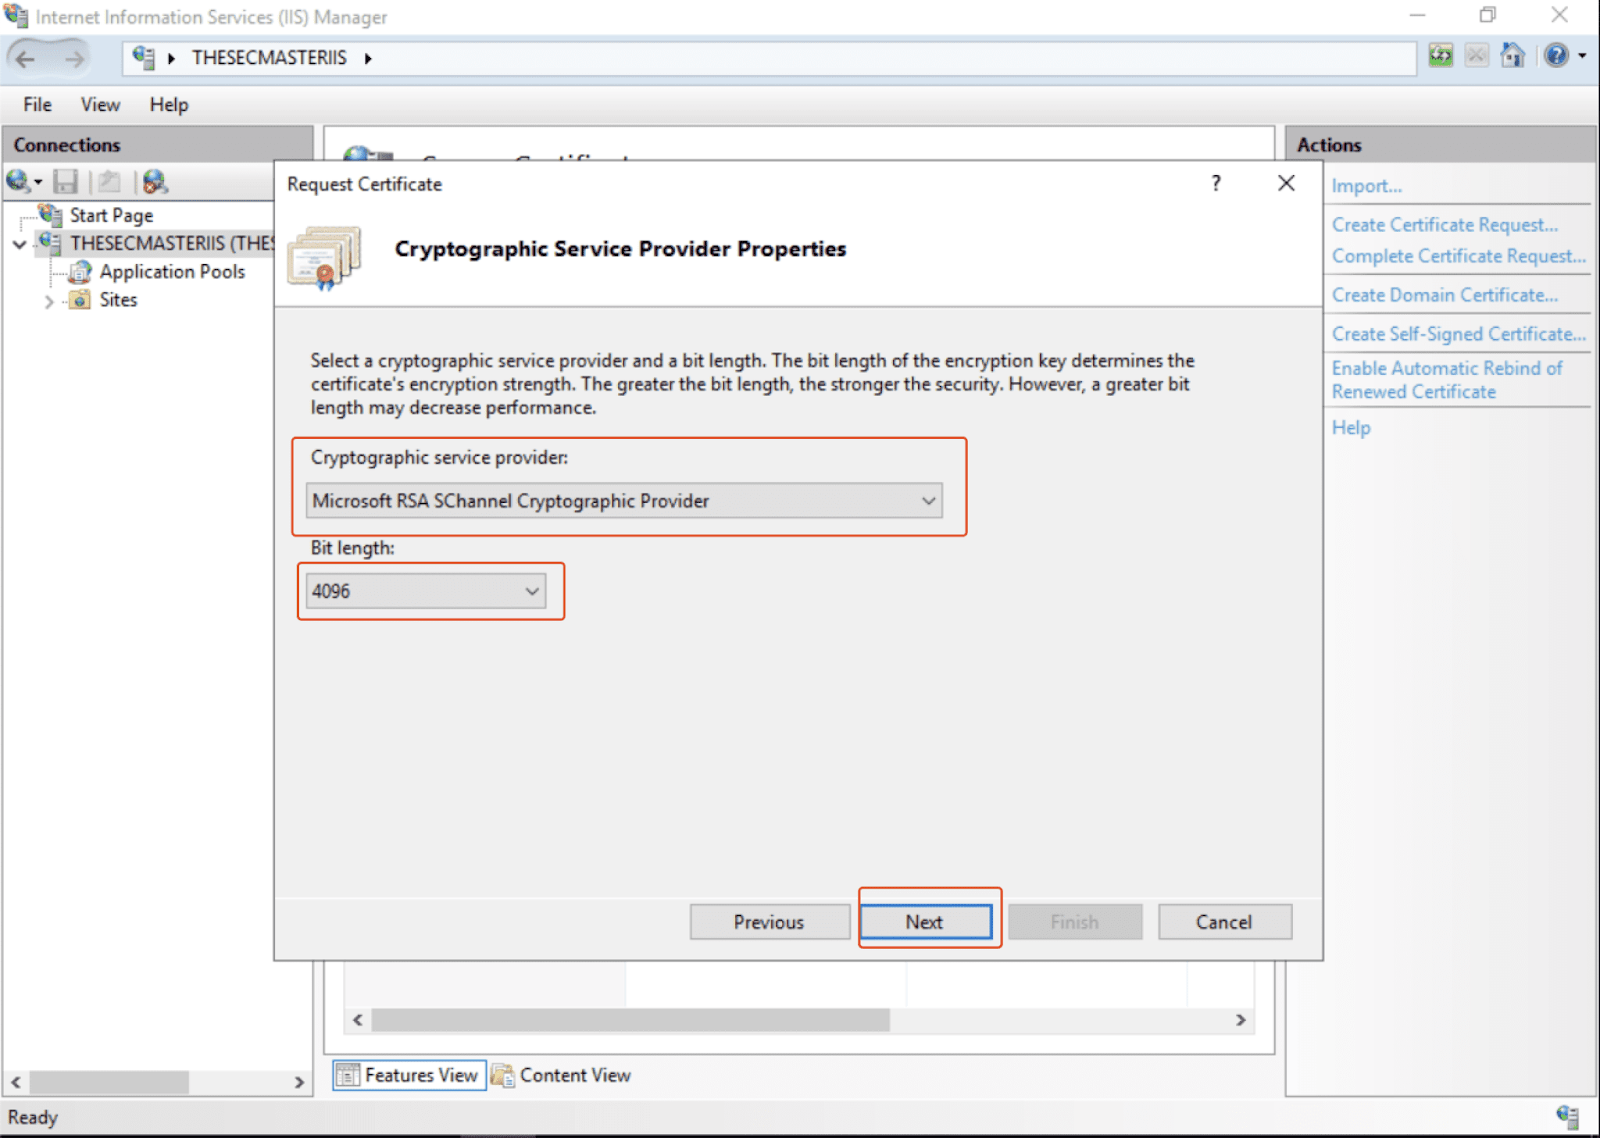
- Click on “Next,” and specify the path to a location on your device where you want to save the CSR file.
You can submit this file to the CA to issue an SSL certificate. CA will verify all your details and issue an SSL certificate, which you can use to secure the Windows server. Once you get the SSL certificate from CA in your email, it is time for the installation process to begin.
Step-by-step Process to Install SSL on Windows Server
If you want to install an SSL certificate on Windows server (IIS 10), here are some pre-requisites to keep ready,
- A valid SSL certificate from a trustworthy CA
- IIS 10 server installed on your device and configured properly
- Admin access to your server
Step 1: Install the root certificate
- Click on Start and search for “MMC.”

- Open the mmc and click “File” to find an option called “Add/Remove Snap-in.”
- In the “Add/Remove Snap-in” window, click add to open a new window named “Add Standalone Snap-in.”
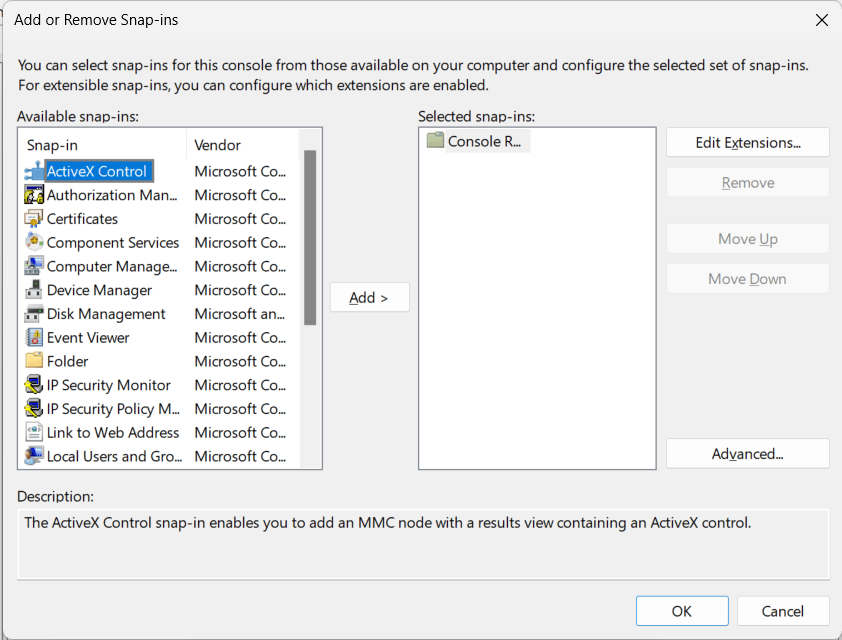
- Double click on “Certificates and you will see a new window open asking about the account you want certificates snap-in to manage.
- Choose “Computer account” and click “Next.”

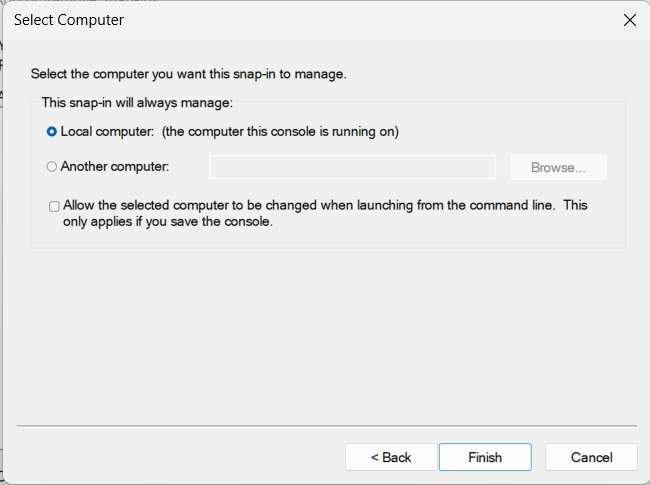
- In the new Window, choose “Local Computer” option and click finish.
- In the right-hand pane, you can now see a list of certificates. Verify the root certificate among these listed certificates by pressing “Q.” If the correct certificate is installed, it will be available for download.
- If it is not installed, you can place the root certificate in a directory locally on the device from where the server can access it.
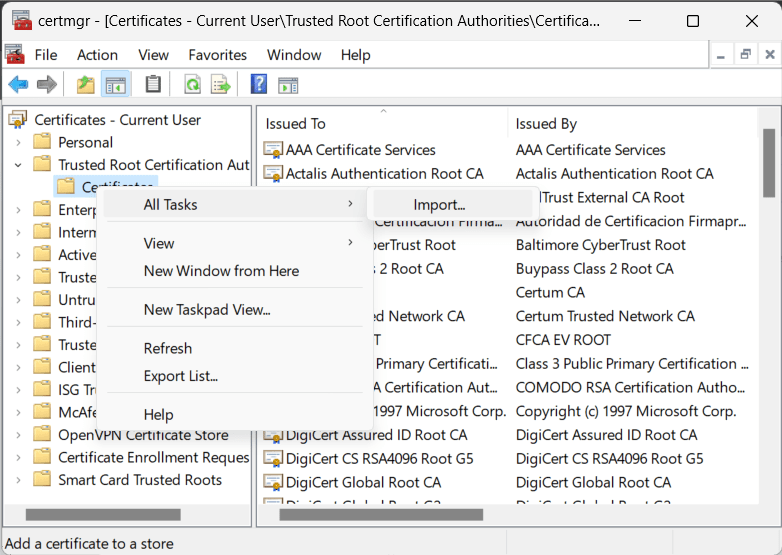
- Now go to certmngr and find “Certificates” in MMC, and under “Trusted Root Certification Authorities, “select all tasks and import.
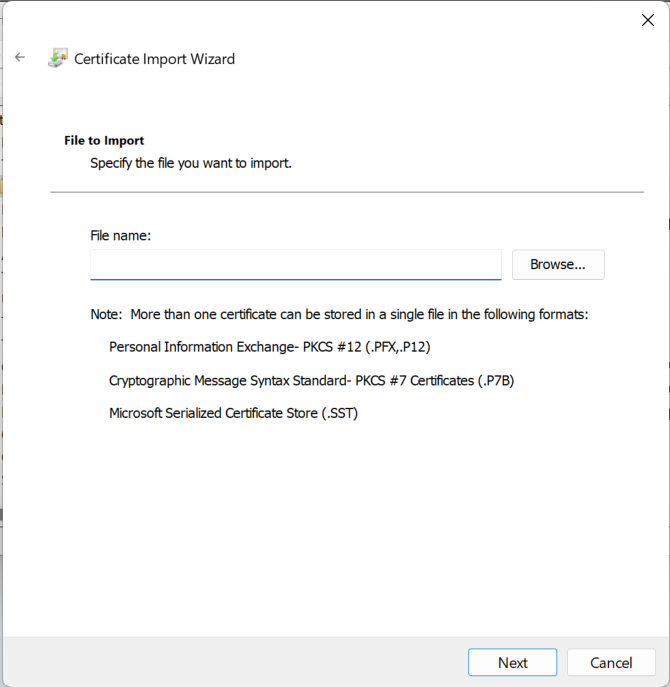
- Click next in the import Window and specify the path to location of file on your device
- In the next window, choose “Trusted Root Certification Certificate store” as certificate store and click next.
- In the summary Window, verify all the details and click on finish to import the certificate successfully.
Step 2: Install Intermediate SSL certificate on IIS
To install SSL on a Windows server, you need a complete installation of root, intermediate, and entire chain of certificates. Therefore, once your root certificate is installed, you can MMC to install the intermediate certificate.
- Go to “Intermediate Certification Authorities” stores and click on certificates under it.
- In the right-hand pane, there will be several intermediate certificates installed and you can check
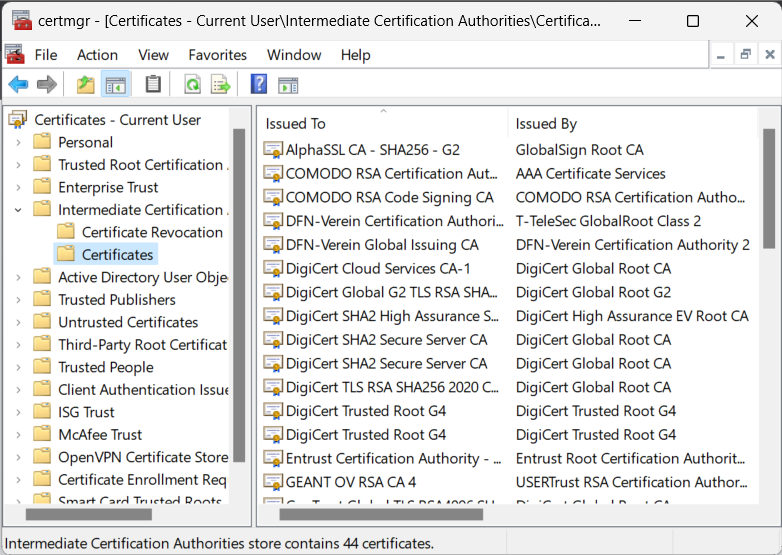
- If any of them is available for download and are valid.
- Now, if there are no valid intermediate certificates installed, go to certificate manager
- Click on “All task” and “import” under “Intermediate Certification Authorities”
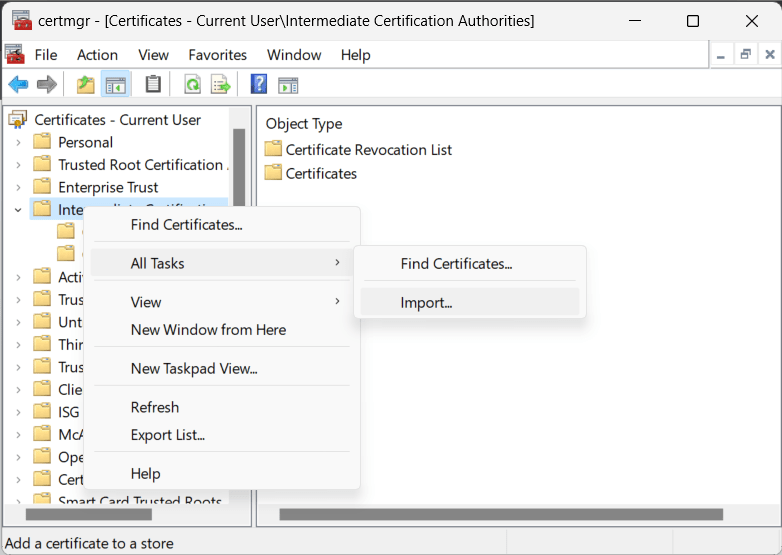
- In the import Window, specify the path to intermediate files saved from the CA bundle on your local device.
- Next, choose the “Intermediate Certification Authorities” for the certificate store option and click on the finish on the final summary page to import the intermediate certificate successfully.
Step 3: Install the certificate and bind the website
To install SSL on a Windows server, you can use IIS Manager and MMC both. First, click on Start and go to the admin tools on your device.
- Click on the Internet Information Services (IIS) Manager in Administrative Tools
- On the left-hand side pane, you can find “Connections”
- Click on the name of the server in the “Connections.”
- Next, double-click on “Server Certificates”
- In the “Action” pane, find and click on “Complete Certificate Request”
- In the next Window, specify the path to your file saved on the device from the CA bundle
- Change the name of the certificate file to a friendly name
- In the drop-down menu select “Personal,” and click OK
Once you click on OK, your certificate will be installed. Next, you can bind it to your website by going to the “Connections.” Expand the “Sites” folder under “Connections” and click on “Bindings” for the website you want to install the SSL certificate.
Click on the “Add” button on the site bindings Window and change the “Type” to “https” from the drop-down menu. Next, select the “friendly name” of the certificate in the “SSL Certificate” and click OK. Your website is now secure with an SSL certificate installed and enforcing HTTPS protocol.
Key Takeaways
With the increasing usage of Windows servers for hosting websites and web apps, security has become a crucial issue. Due to higher cyber threats, using security measures like, SSL certificates is essential. Here we have discussed comprehensively how to install SSL on the Windows server. However, your project’s approach and method can differ depending on specific requirements.